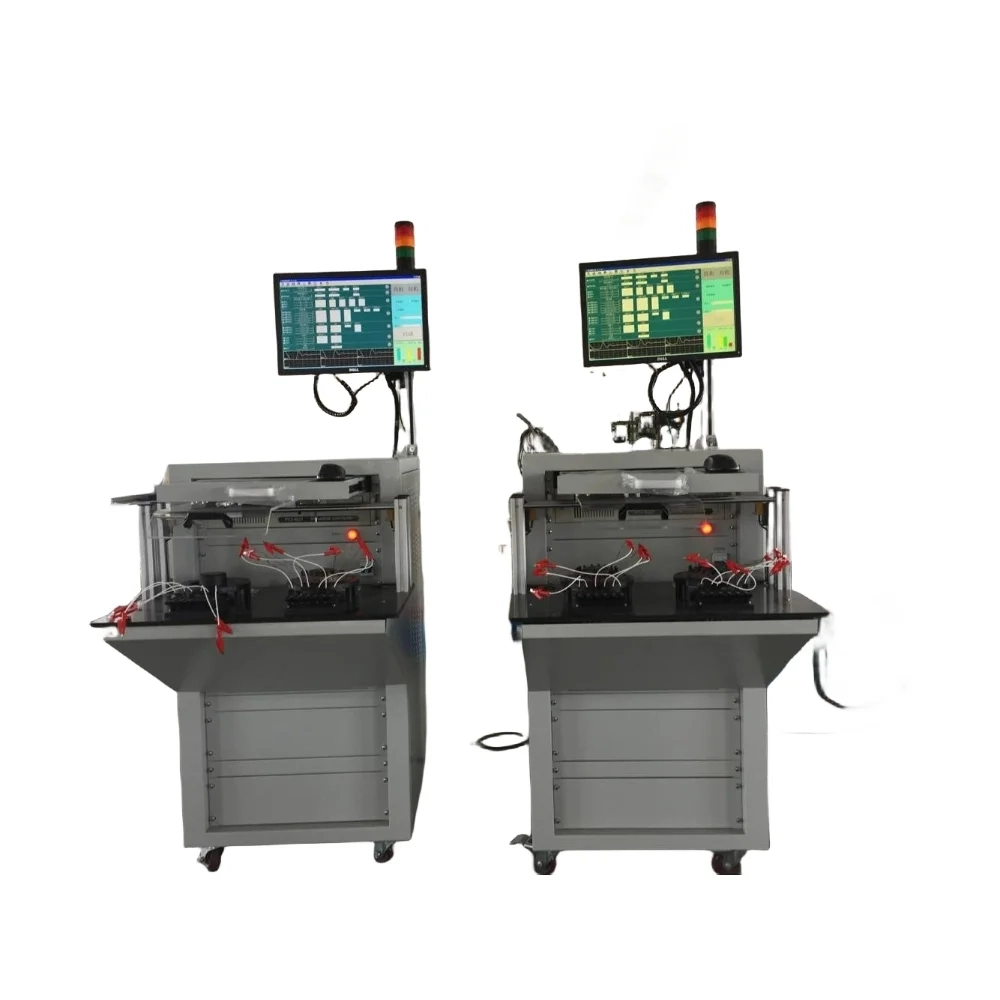
In the industrial field, motors play a pivotal role as power sources. To ensure that your motor is running at its best, regular performance and safety testing is essential. A motor tester is a precision instrument designed specifically to evaluate motor performance. It can provide important information about the working status of the motor. This article will detail how to properly install motor tester to ensure accurate and efficient test results.

1. Preparation stage:
Before starting the installation, you need to confirm your testing needs and select a suitable motor tester. Read the tester's manual to understand its technical specifications such as measurement range, accuracy, etc., and make sure it is suitable for the type and size of motor you need to test. At the same time, prepare a clean and stable work surface to place the motor tester, and ensure that the test area is away from high temperature, moisture, and electromagnetic interference.
2. Connect the power supply:
Place the motor tester securely on a workbench and connect it to a stable power source. Make sure the power supply voltage matches the tester's requirements and use a voltage regulator to ensure power supply stability. Before connecting the power supply, check that all power lines are intact to avoid electrical faults or safety accidents.
3. Connect the test leads:
According to the instruction manual of the motor tester, connect the test lead to the corresponding input port. Typically, test leads include lines for measuring voltage, current, and rotational speed. Make sure that the connector of the test lead is tightly connected to the instrument port and is not loose.
4. Set test parameters:
Turn on the power of the motor tester and enter the setup menu via the keys or touch screen. Here, you can set the parameters to be tested, such as voltage, current, power factor, frequency, etc. For different testing needs, choose the appropriate measurement range and unit. If necessary, thresholds and alarm values can also be set to quickly identify abnormal conditions during testing.
5. Connect to the motor under test:
After ensuring that the motor is turned off and properly grounded, connect the corresponding terminals of the motor under test to the motor tester through the test wires. Always make sure connections are made correctly to avoid short circuits or other hazardous conditions.
6. Software configuration (if any):
If the motor tester is equipped with special software, this software should be installed and configured at this time. The software may include additional analysis tools to help users better understand test data. Follow the guide to complete the software installation and connect the tester to the computer via USB or Bluetooth.
7. Conduct preliminary tests:
Before starting formal testing, conduct a preliminary test to check that all connections are correct and the device is working properly. Observe that the readings on the motor tester are as expected, and if any abnormalities are indicated, check all connections immediately and correct the errors.
8. Formal testing:
After confirming that everything is ready, start the motor under test and start the formal test. Monitor various parameters on the motor tester and record important data. During the test, note any anomalies and stop the test for inspection if necessary.
9. Data recording and analysis:
After the test is completed, save the test data and perform the necessary analysis. Using supporting software can help users understand data more intuitively and generate professional reports.
10. Cleaning and maintenance:
After testing, turn off the power to the motor and tester, and disconnect all connections. Clean the surface of the equipment and, if necessary, calibrate or maintain the tester according to the instructions.
Proper installation and use of motor testers are key to ensuring test accuracy and operational safety. By following the above steps, users can effectively conduct motor testing to ensure that the motor is running at its best. Remember, always read and follow your motor tester's user manual carefully before performing any tests, this will help avoid misoperation and ensure the accuracy of your test results. Through regular and correct testing, the service life of the motor can be extended, production efficiency improved, and unnecessary maintenance costs reduced.
Motor tester: Optimize motor operation and increase efficiency
Motor tester: a powerful tool for evaluating motor performance
Learn more about the classifications of motor testers?
Analysis of precautions for using motor tester
Motor Tester Maintenance Guide: Ensuring Accuracy and Reliability
Energy consumption and energy-saving tips for motor testers
Analysis of factors affecting the price of motor tester
The importance and methods of improving motor tester efficiency
How to extend the service life of a motor tester?
The working environment of motor testers and their importance
The history and future development trends of motor testers
Motor tester safety operation guide
How to choose a high-quality motor tester manufacturer
Motor tester storage and transportation guidelines
Working principle and usage scenarios of motor tester
Common faults and troubleshooting methods of motor testers
What factors are related to the measurement accuracy of motor tester?
mia
server@zy9600.com


Average Rating